DIY Octopus Shower Curtain Wall Art

I wanted a large art piece in my office without spending a fortune, this will cost you under $100...or less than $50 if you have some of the supplies around. I forgot two pieces of wood and did this alone, do not make the same mistakes I did!
PS - Next time I'll try to use something other than my iPhone to take the photos haha
SUPPLIES NEEDED
- 1 Shower Curtain - I got my 72x72" Octopus Shower Curtain on Amazon
- Staple Gun + Staples
- Electric Drill with 1 1/2" Screws
- 2 Pieces of 1"x2" Lumber Cut to 67 Inches
- Make sure you get the edges cut to a flat surface, you will be drilling the pieces together at 90 degree angles and want them to be able to go together
- 4 Pieces of 1"x2" Lumber Cut to 65 Inches
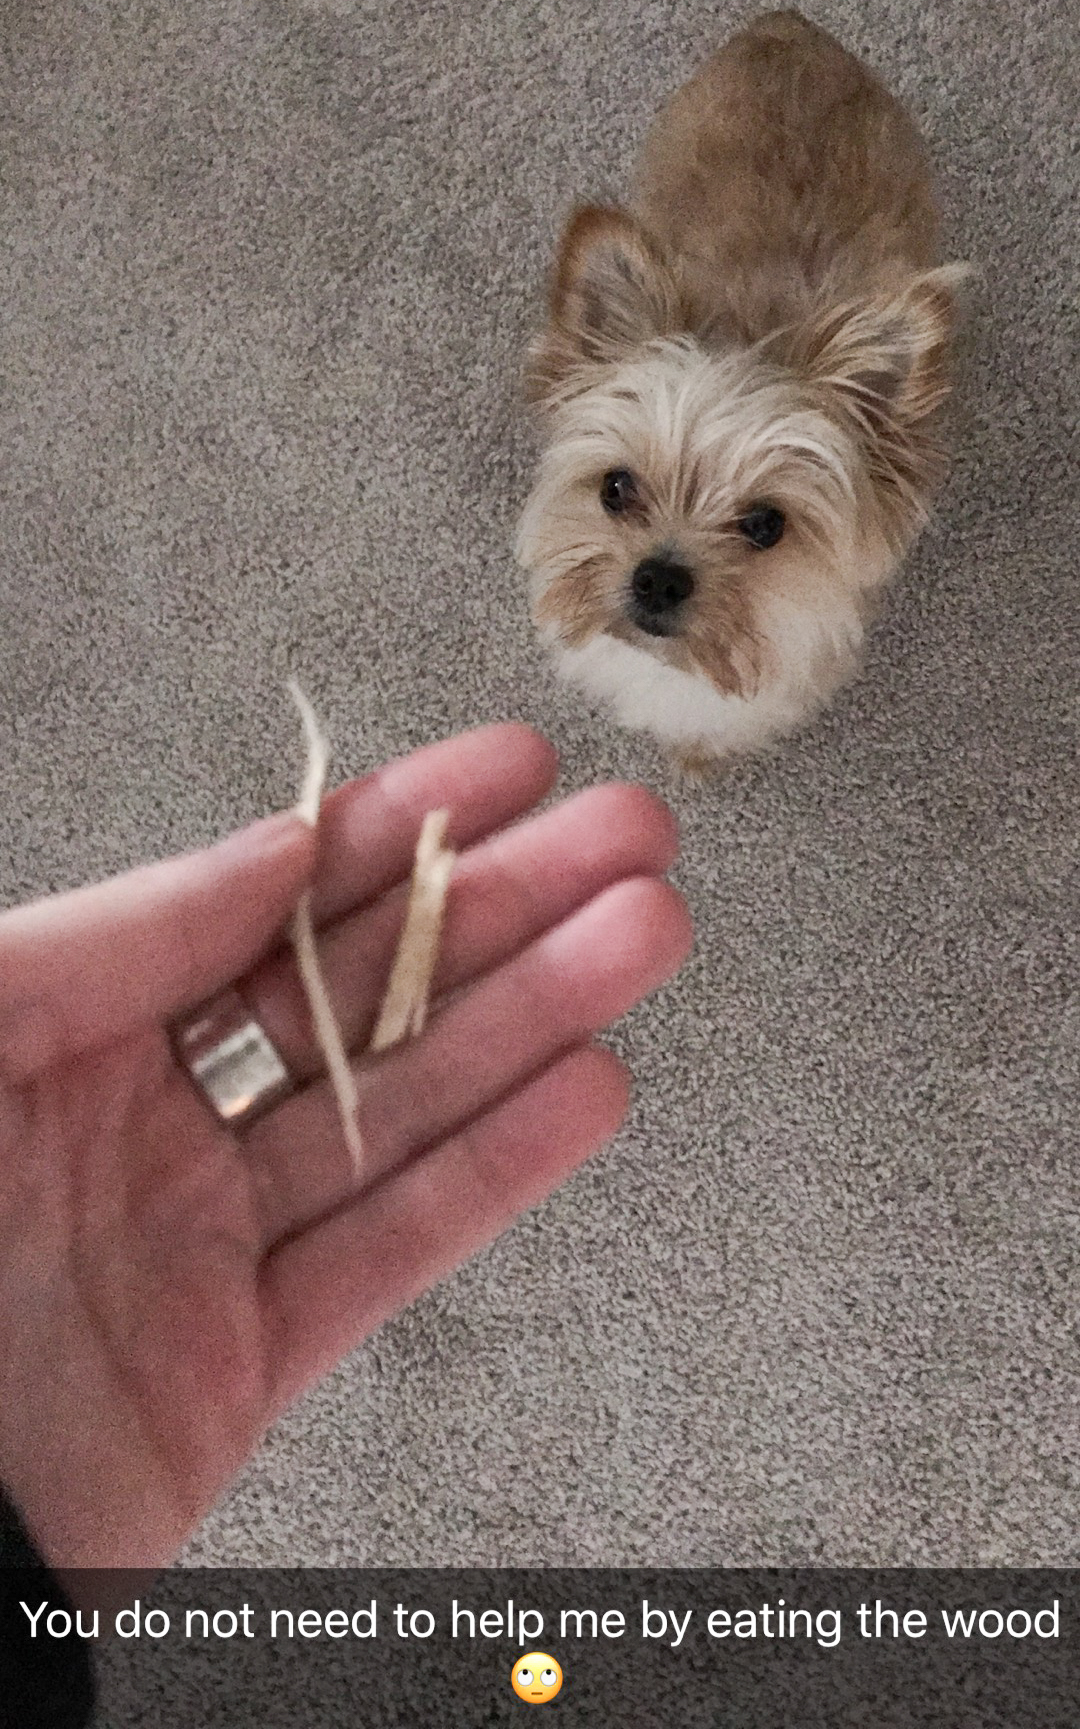
- A FRIEND It would have been a lot of help if I had someone other than my dog helping
- OPTIONAL: Opaque white shower curtain liner underneath your shower curtain to guarantee no wood shows through
Gather Supplies
I got all of my supplies at Home Depot (other than the shower curtain).

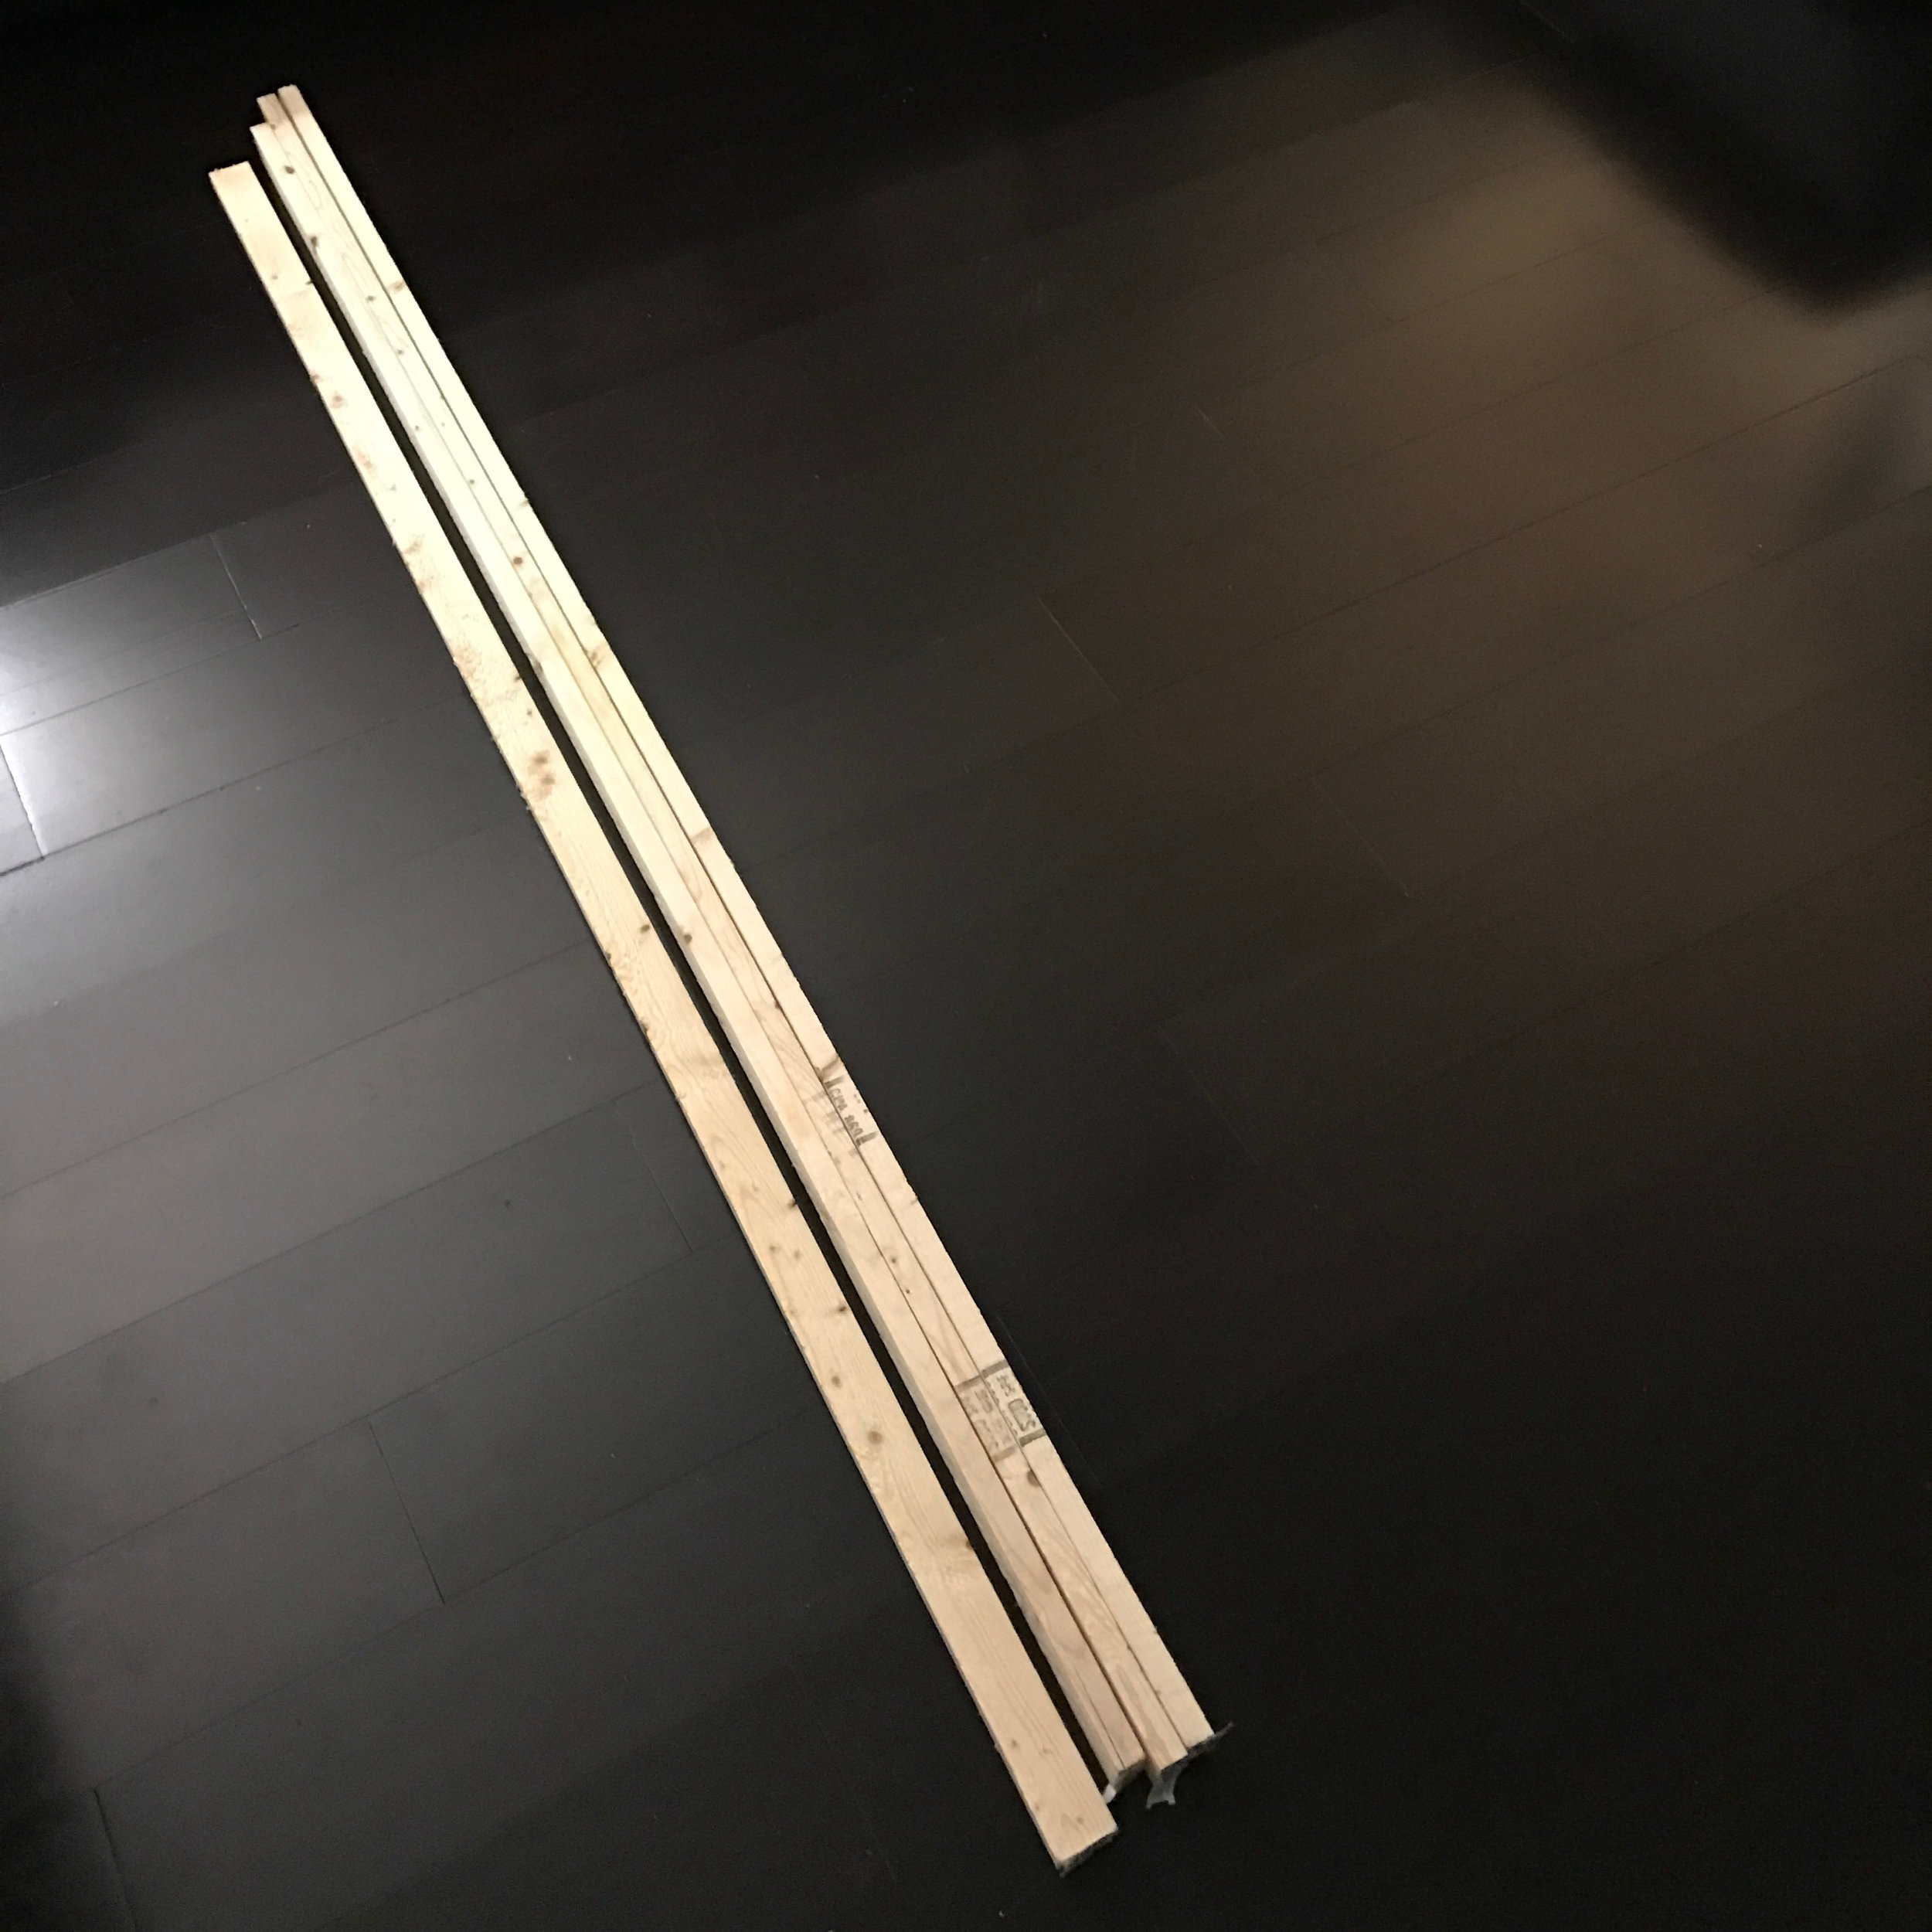
6 Pieces Total - NOT 4
I was too busy talking to the guy and forgot I needed SIX pieces total - 4 pieces of the 65 Inch length and ended up leaving with only 2... it worked because I was only putting it on a table up against a wall, however I would highly recommend getting the recommended 6 pieces total if you are hanging this.
Iron/Steam Shower Curtain
I hung mine up and steamed it - be sure to check the type of fabric before ironing

Lay Wood On The Floor
The right graphic is how it should look
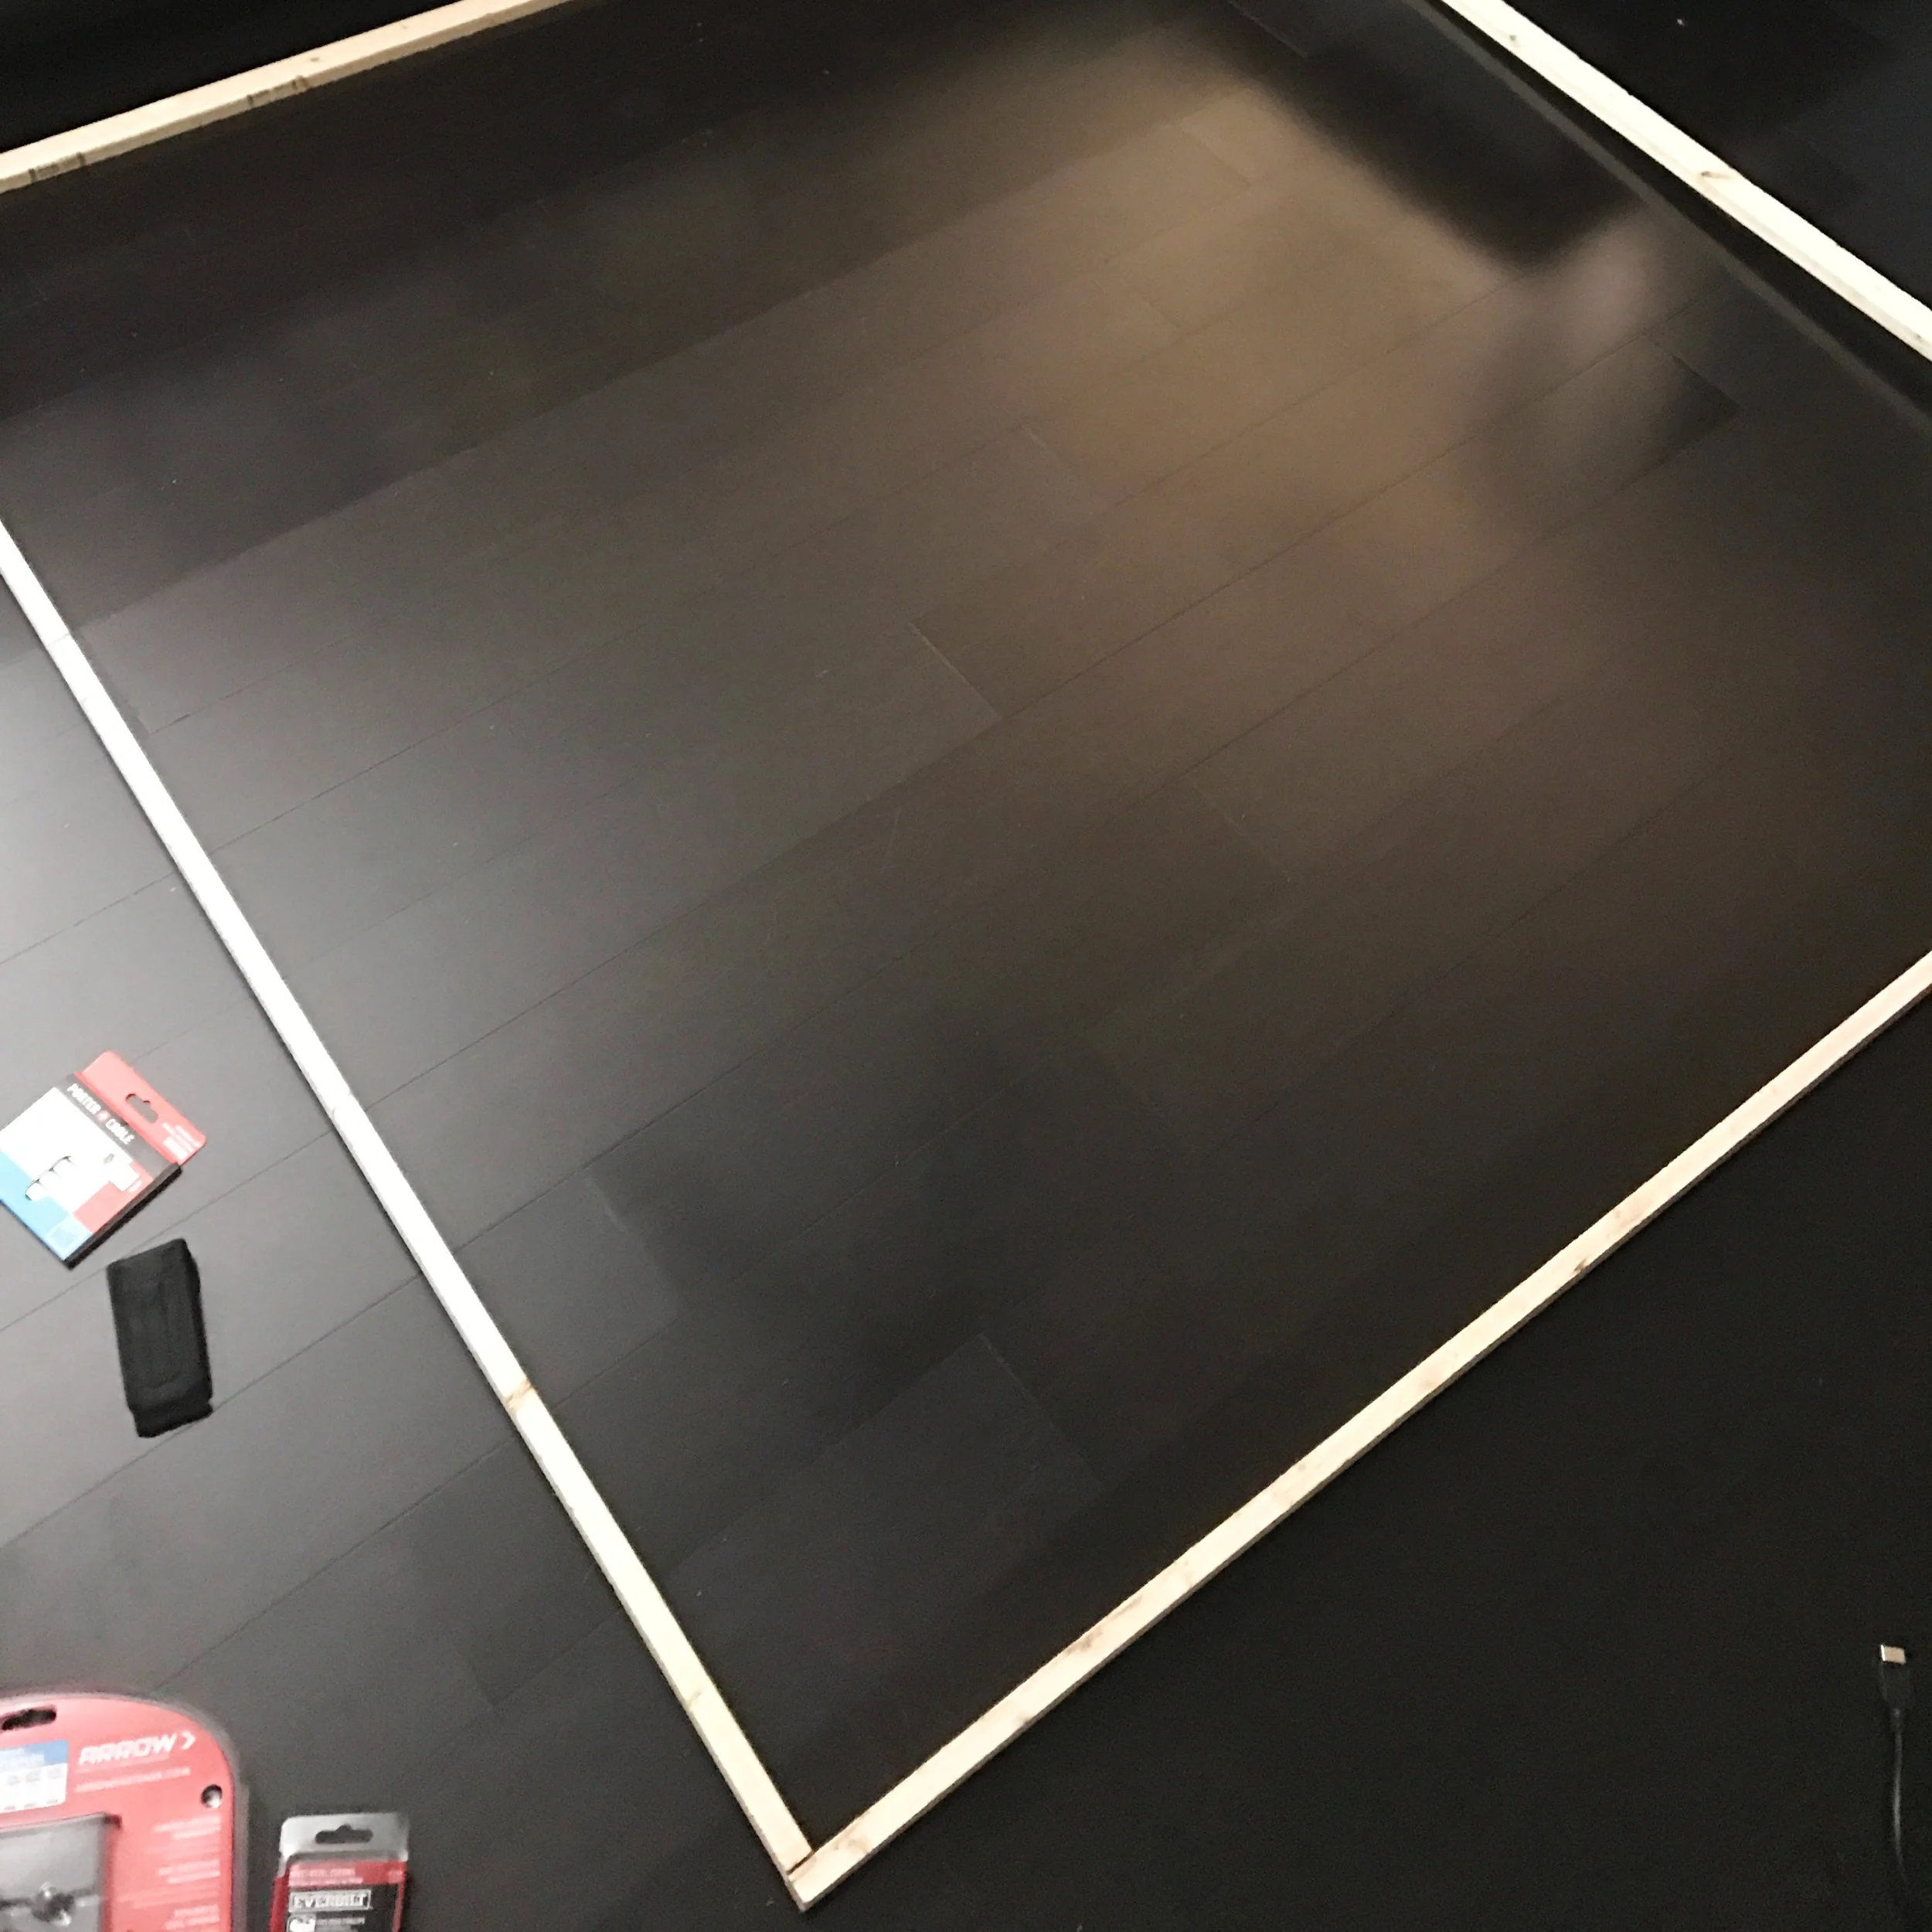

Drill The Frame Together
Make sure it's at a 90 degree angle, you can use a staple gun or nails for extra support

Why you need a friend - to hold the wood together so it can stay at a perfect 90 degree angle and not break!
Lay Shower Curtain Under Wood & Staple Gun It
I used the top loops on the shower curtain as a reference to know that I was stapling it without it being crooked

There will be about 2 inches or so on each side. Make sure you're okay with how the design looks underneath it before you start to staple. I did the top first and then pulled it tightly to staple a few bottom pieces and worked around.

Enjoy!

NOTE: Wood measurements may need to be different with different shower curtain sizes. You can customize it according to the design & your wall space.
Click below to shop the shower curtains above!